Search This Blog

Sunday, January 7, 2018

Sock Machine Knitter Projects.... Felted Norwegian Slippers the easy way!


I have a Sock Machine... or three.  I bought 3 sock machines 18 years ago before they were popular and hard to find. They came with lots of spare needles, the original books and lots of tools and a stand!  All for only $85!!!! Enough gloating...

My sister and I had set out to find out more about these machines and joined a group of enthusiasts in Pennsylvania. There we met with other men and women who came up with more than just socks that can be made on these machines.

Every winter I take the machine out and make some socks.  My love of socks began with knitting them the old fashioned way on needles and I still do when traveling around the country. They are fun and easy to make.

Being home for the winter, I started looking on line for slipper patterns to knit. I found  a great blog with directions for this "Felted Norwegian Slipper" pattern.


For a wonderful blog on knitting these on needles, check out this blog...
https://braindropskeepfalling.wordpress.com/2012/05/02/norwegian-house-slippers/

I started working on these with my needles, but in process I thought, maybe I could make them faster on the sock machine. It has been hovering around 0 degrees here in Connecticut for about 2 weeks and my old house floors are rather chilly. My daughter did not knit me a new pair of slippers this year, :), so I need to make some on my own.... fast.

I find cones of yarn at thrift stores and weaving groups and I have a very large cone of thin, red wool. It is so thin that when I made socks two years ago for my sweetie and I for Valentines day, I found that if I knitted them on the machine very loose I could felt them down to the proper size and they came out comfy and cozy.


So why not use this red yarn, loose tension, on the sock machine to make these Norwegian slippers?

They would be double and if knitted loosely, they would be felted down to a fine slipper.

So here is what I did.


I knitted the two sole squares with an added thread of Wooly Nylon.  You can do these in various color squares, but I wanted them all red, so I put a bit of white thread on each side to mark the corners so I could sew them together properly later.  My favorite machine cam has 60 needles. This is good for fingering yarn and makes a bulky sock.  I used very loose tension so they would come out large and loose.  The squares came out 5" wide (doubled of course) and 40 rows made each square 5" long. You need two sections, mark them by some waste yarn. The shrunken sole came out 9 1/2" long from heel to toe. I would say ladies size 7 or 8.  In felting them, you can felt by hand and stop the process for a little larger size.

One thing that took FOREVER is that I used the kitchener stitch to connect the openings in the tops and bottoms of both sections so they would not unravel and would fall flat in two layers. Lock in the first row with the mock rib fold.  To do this, knit 2 or 3 rows, stop and with a crochet hook, reach in and pick up each loop from first row and place over hook. Move cam to be sure you got all stitches and continue your sock. This top will not unravel .  Kitchener bottom.


I plan to try some other sizes by taking out some needles for kids slippers.  ( If you take every other needle out of your machine, you get a nice small kids size sock.)

Here is how I did them.


Mark the sides with scrap yarn for later lineup. If you have not already done so, I have marked halfway points on my cam with nail polish.


Pick up on needles, half and half. Use those marked lines above so they line up. 


Kitchener stitch... will zig-zag on sewing machine be faster and work ok?


Short piece, two squares lying double flat with white thread to mark the corner of each square.


Sew the 2 square piece to the 6 square piece using whip stitch.. same yarn doubled but not too tight.


Two pieces together. Notice two soles pieces have brown wooly nylon knitted in. It came out a little tighter than the straight red pieces, but felted ok.


Finished slipper, very loose and floppy. Follow the chart from that other great blog above. Check out her blog directions too, they are great!


Finished slipper, still very loose and floppy and about 2 inches longer than my foot.


Felted slipper.  Don't know how to felt yet? Boy, is it fun. You can throw them in a washing machine with warm water and soap with your laundry, but I like to keep an eye on it. I use a pan of hot water and a bar of soap. Wet the slipper, squeeze out some water so it doesn't drip. Smear with soap and start squishing between your hands.  Keep squishing, more soaking in hot water, more soap, until the slipper looks the right size.  Rise in cool water and dry.

Have fun, let me know how it goes or if you have suggestions, and sign up for future blogs on other things you can do with your sock machine... Christmas wreaths, kid socks, scalloped edges, lacey patterns, door stops, cell phone bags, hats and more.

Sock machines... more fun than you realized and in half the time of needle knitting! Yes I love to knit by hand when away from home or at my groups, but sock machines are a great tool.  


Saturday, December 16, 2017

Blue and White Bands for Christmas gifts


I love blue and white patterns, so I made these 3 projects for gifts this year.


This narrow band was made for two projects.  A little bag for a cell phone made from an older hanky I had picked up at a used shop somewhere. The pretty little embroidered flower was already on it, so I cut out a corner so I could fold the top over and just had to add a soft cotton lining. Then I added the blue and white band for a strap.


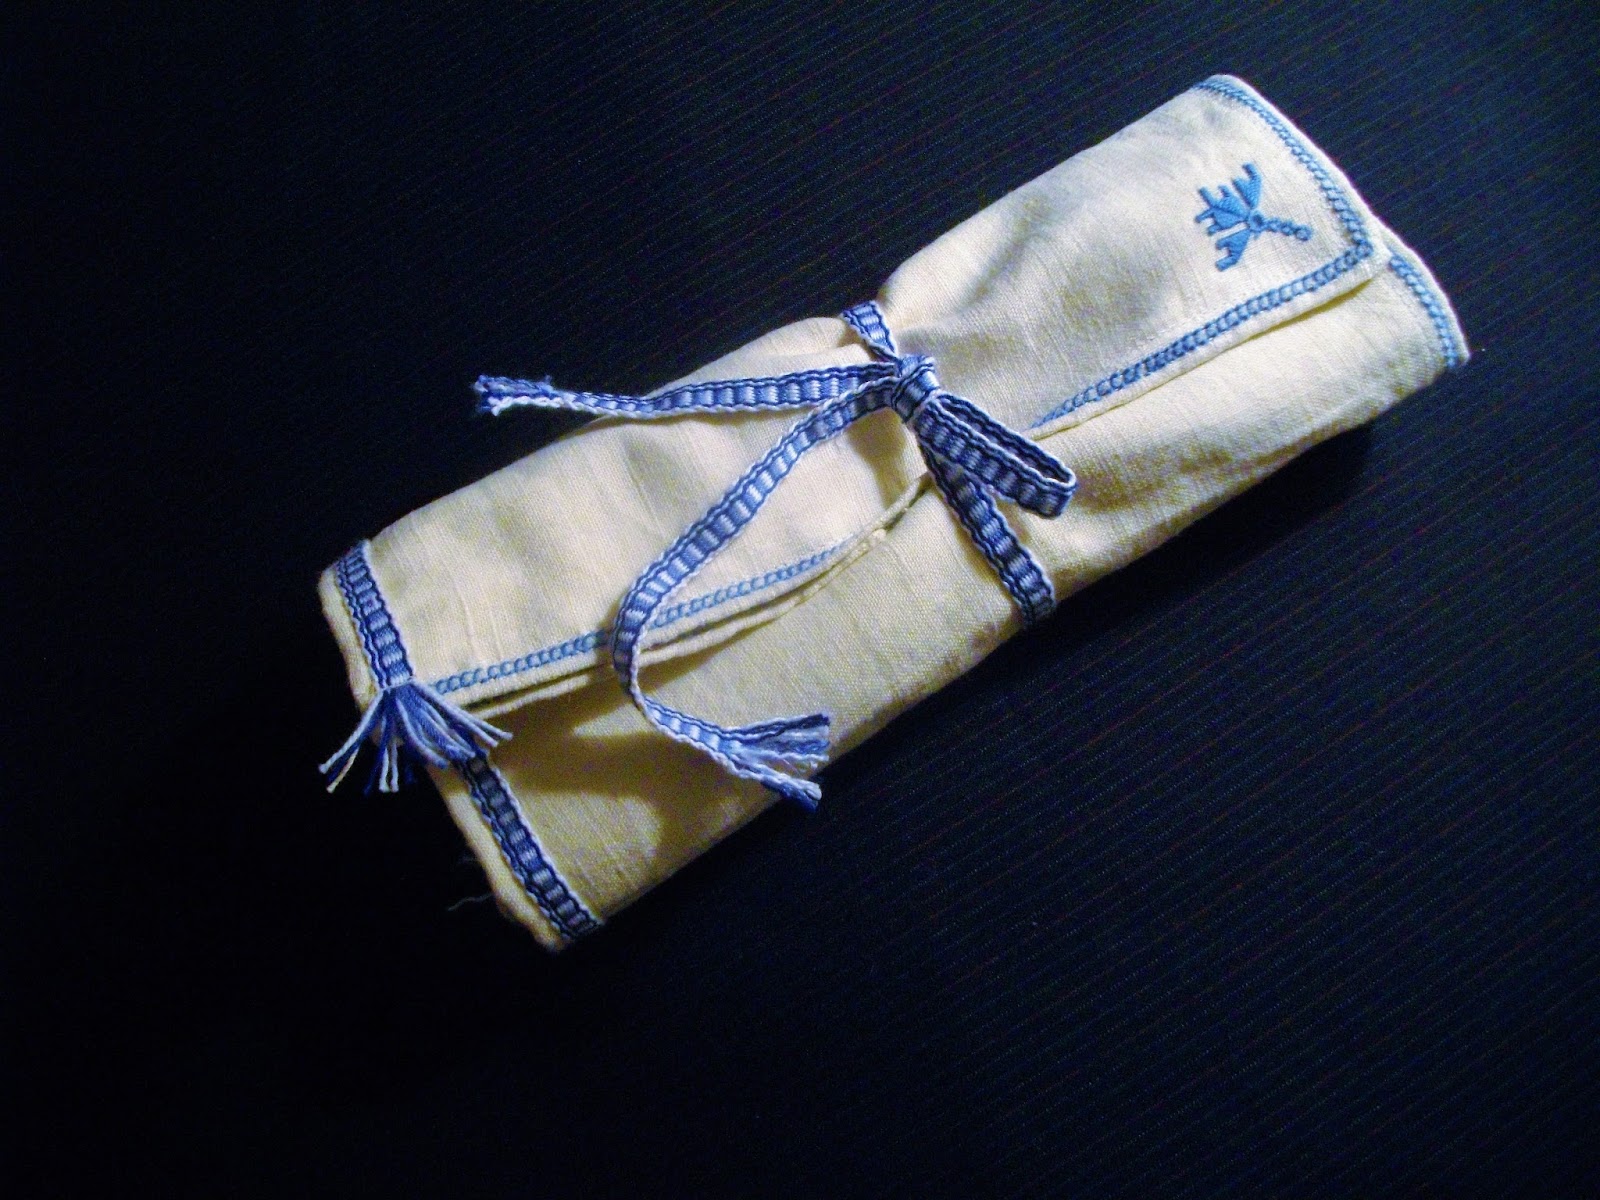
My second project was to use a napkin with a bit of blue embroidery for a needle case. I lined it with soft cotton and attach the blue and white band for a tie.


My third blue and white project was my Blue Danube pattern to attach to a linen dresser scarf.
This one is all cotton threads. See chart below.


Thanks for checking out my blog.  You can use the search tab above for other weaving projects and patterns in this blog, along with my downloadable charts to draw out your own patterns.  If you are new to this fun pastime, check out my easy to follow book on building and setting up these historical looms, Tape Loom Weaving...simplified, available on my web site, www.eastknollpottery.com or Amazon.com.  Need some ideas?  Just check out these wonderful looms and bands.... https://www.pinterest.com/potterymom1/weaving-bands-tapes/ and https://www.pinterest.com/potterymom1/weaving-band-looms/

And Have A Merry Christmas and Happy Holidays!

Friday, November 17, 2017

Inkle to Band Loom Conversion Chart

Years ago when I started weaving on my paddle loom, I found a book on Amazon called "Band" by Liz Trotzig 1958. It turns out that it was all written in Swedish. I never have read it, not knowing the Swedish language, but picked up the important words with the help of Google translator.  The threading charts were set up with no spaces so that is how I have been setting up threading charts every since and how I set up the charts in my book. 

When I later found the new books, my favorite is "Inkle Pattern Directory" by Anne Dixon, I found the new charts with spaces. In my book I have converted the charts from Inkle to my old Band charts.  In some ways it is simpler to understand without the spaces getting in your way. In some ways it is easier to put in the blocks of multiples.

Hope this will help.


Tuesday, May 16, 2017

Details of Shaker Loom for Chair Seat Bands....


I would love to make one of these. All the old looms were made by individuals... some by craftspeople, woodworkers or maybe you could get your husband to make you one.

These are photos the loom on exhibit in the Weaving House at The Shaker Museum in Pittsfield, Massachusetts. It is about 3 feet tall.


Now, I am sure we can make one similar!


Friday, May 12, 2017

Shaker Looms... A Visit to Hancock Shaker Village in May


Weaving House
It was a cold day, but it wasn't raining, so my family and I got to wander freely among the buildings and shops and had plenty of time to talk to the docents about their trades and pick their brains for historic knowledge.

I was there for the weaving looms.  I live 90 minutes away, but only visit every two years. I wrote a book on band weaving a few years ago, and I acquired my barn loom from Minnesota just last year to make rag rugs, so I was looking forward to the Shaker weaving building. Yes! Imagine having a big beautiful building... two stories high with just weaving equipment and yarn!

Heaven!

Since we were of only 30 or so visitors this day, my granddaughter, Isobel, who is 9, got to weave a chair seats with the docent.  Fortunate for me, I have two daughters and three granddaughters who love all the stuff that I love and are constantly absorbing knowledge from the craftsmen and women that we meet so often in our travels to history museums, shops, fairs and festivals.

The Shakers wove bands for woven chair seats twice. Once to weave the bands themselves on small floor looms and again weaving the bands onto the chair itself.  Isobel's chair is clamped to a wall and she is able to turn the chair as she weaves over the top and then the bottom. There are several weave patterns for the chair themselves, but also hundreds of patterns and colors on the bands.


She is using a large wooden needle to weave the chair seat as the pattern gets tighter.  The seat has a cushion of foam to help support the weave, but in the past the weavers used pads of rags, horse fibers and paper.

Then we went to the weaving building. I was looking for a gate, paddle or box loom for the bands made for the chairs.  I found none here.  The Shakers were English.  The English that immigrated to America used gate, paddle and box looms for their tapes and bands. I found this wonderful little floor loom and now realize that this would be a better loom to weave a long band for the chair seats.  Each chair seat needs about 50 feet of band.  Although you certainly do not need to weave 50 feet at a time. When using a gate, paddle or box loom, even 10 feet of warp is a lot to manage on these smaller looms.  This Shaker loom at the museum could be conveniently set up for yards of warp.


Then I concentrated on photos of the big barn looms.  My barn loom came in pieces and it wasn't much for Roger and I to figure out it is set up.  However, our loom, built in the late 1800s had even older pulleys. My loom had hand carved pulleys., probably brought over from Scandinavia. The set up looked like they were made for 4 heddles. My loom only had two heddles, and as I wanted to only make rugs, two heddles were fine for me.  But we had to figure a way to incorporate our beautiful pulleys into a two heddle set-up.

The Shaker museum had over 6 barn looms, many with pulleys.


And the rugs they made were wonderful!  Throughout the village, there were throw rugs and room size rugs... strips about 30 inches wide sewn together. I especially liked the zig-zag patterns.  Rugs made by twisting 3 color rag strips together in an "S" twist or a "Z" twist to create this unique effect.


Amazon sells a book on how to make this pattern....


Check out my Pinterest pages to see many hand-made band looms, barn looms and weaving done on them and then go be creative!

https://www.pinterest.com/potterymom1/weaving-band-looms/
https://www.pinterest.com/potterymom1/barn-looms/

https://www.pinterest.com/potterymom1/weaving-bands-tapes/
https://www.pinterest.com/potterymom1/woven-rugs/

And, of course, if you get the time and are near Massachusetts, stop and visit the Hancock Shaker Museum to see the weaving and looms up close.


Tuesday, January 17, 2017

Old Swedish Pattern on Band Loom with 3 Pick-up Patterns

Original... Topside and Reverse


(This could be Estonian or German!)


I saw this pattern on line somewhere and I just had to make it.  I had to carve a wider band loom to work it because the whole pattern uses 92 Threads, 46 holes and 46 slots.  After I made my loom, I found I still made it too narrow. My new loom uses up to 80 Threads, so I had to drop the 6 thread borders.


I like the colors. On the original you can see the 3 colors (plus white), red, turquoise and blue.

It is not so hard as it looks. It helps to follow the chart row by row and then you don't have to think about the 3 different sections...it will just all fall into place.


Close up with dotted border.


Pulling up that side red thread to show it more.
Pattern draft. Start at bottom.

When you get to the top of the chart you will have one extra white row in the side patterns because the two side pick-ups do not align with the middle pick-up.


My first attempt at this was so pretty that I cut it into sections and framed them.  My next attempt will include the side border dots. I am looking for a closer color match and I want all 3 colors in wool. Background white threads are cotton so the piece will not stretch.  As soon as I make a wider loom that is!


Happy weaving!

Monday, January 16, 2017

Weaving My First Rug!....Big Barn Loom... Part IV


Isanti County Fair, Cambridge MN


History is important. Working with your hands is important. Creating something of value is important. I have always loved history and seemed to have been destined to share historical trades with others. Old equipment was made by hands, not machines. They have been built to last, they have been worn through years of use by hands, feet and minds.  Finding this loom was especially wonderful because it too has a history. This is just some of the history of my Minnesota loom shared with me by Beverly, whose family owned it and used it for generations.

I met Beverly at a fair two years ago in Minnesota.  I was demonstrating pottery and a very nice gentleman was demonstrating rug weaving on his mothers old Swedish loom.  I am a practical girl. I thought making rugs on a beautiful old loom would be just the thing for my next endeavor.  Beverly gave me a call last spring and asked if I still wanted an old loom. Well, yes! of course!  Here is the story of this loom. It has a lovely history and a lovely story.

Christine Esberg was born in 1846 in Helsingland, Sweden. She married Olaf Peterson in 1866 and lived in Anoka County, Minnesota. Christine may have brought the very old carved pulleys with her from Sweden and perhaps made the frame here in Minnesota in the late 1800s.

Christine's mother Martha Esberg, used this loom too. They made rugs, somehow finding time while raising 11 children! The family remembers one particular large rug that covered Christine son Peter's floor. 
My Grandfather laid straw under this large rug and had the kids jump on the straw to mat the straw down for a soft base for the rug and to keep the floor warmer. This loom makes rugs about 36" wide and strips were sewn together to make the larger rugs. Peter's son Lester Peterson acquired the loom and brought it to his home.  Lester's daughter, Beverly, brought the loom to Isanti, Minnesota.  Sadly she had no room for such a large loom and she passed it on to me.  

Lester also told his daughter that the loom was passed from neighbor to neighbor so others would be able to make their own rugs. The hands of the Thompson's, the Nelsons, the Hansons, the Stromgren and Peterson family's have worked on this loom. The old tradition of using old clothing, coats, blankets, fabric that had worn out but was still valuable as a way to make lovely rugs to cushion your feet, brighten a room and keep out the cold. 

My house is very old and drafty too and in the winter the cold floors are covered in throw rugs. Throw rugs can be moved around and easily washed.  So the old tradition will be continued in a new family far from Sweden and Minnesota, here in New England. My family will now be making rugs from scraps of old fabric, wool, cotton, linen clothing and some new stuff too.  T-shirts and blue jeans make great rugs to brighten our rooms and keep the floors warm. 


                                          ↭↭↭↭↭


My loom was disassembled when I brought it home. There was one of these "sticks" which I am calling a lamm for lack of anything else. I cannot find a photo of one in any old photos of looms or ones in use.


I carved a replica and have attached them to my peddles and heddles.


They are working great!

My loom came with three old, well carved pulleys. Roger, wood turner, carved the fourth pulley last week.  In my hurry to just make a rug, I rigged up the loop system below. This is working great, but I hope to put in the new pulley soon.


Old and New pulleys


Here is Rogers new pulley... how perfect is that!


Thank you so much Roger! You're the best.


My cut wool strips stash.
I warped the loom with linen and wanted my first rug with some wool strips I had bought at a tag sale
years ago. They were wide, 1 1/2" and were probably intended for braiding.  This being my first rug ever, I just used what I had. The wool worked up fine, but the rug came out a little heavy.  I had some trouble with the sides. I had to keep adjusting the heddle height, the beater, the tension, loose warp threads. I am the kind of person who says, "lets just do it".  So here is how it turned out.


Rug #1.

Rug #2
I had some linen warp left on the loom, so I tried rug #2. This time I cut the wool strips in half, about 3/4". This was so much easier to weave and beat, and I like this one.

My next project is to set up the old pulley system.... upcoming part V. Right now, my bar system seems to be working just fine.

Happy weaving!